
Recipe (Makes 7 cupcakes)
2 eggs
4 ounces (113g) margarine/butter
4 ounces (113g) muscovado or light brown sugar
4 ounces (113g) self raising flour
About 50g caramel sauce for filling
Icing
330g icing sugar
130g margarine
2 tablespoons milk
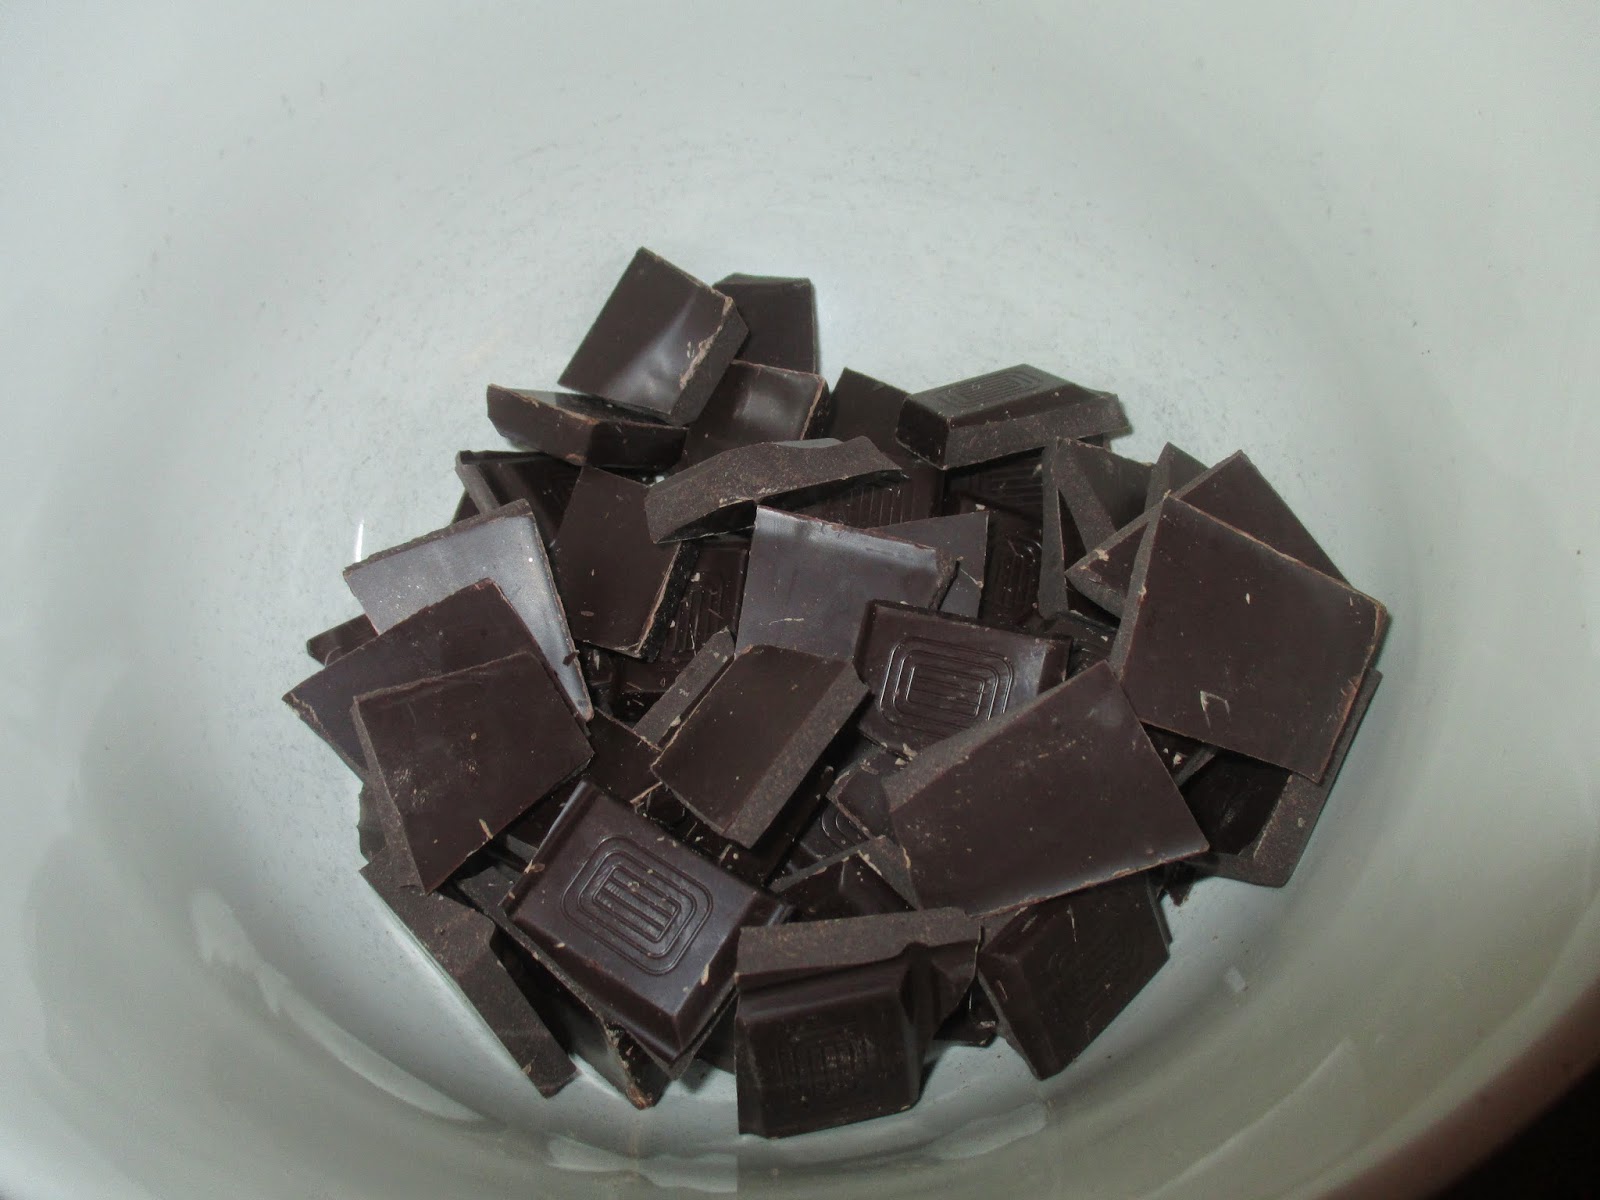
30g tinned caramel and caramel sauce
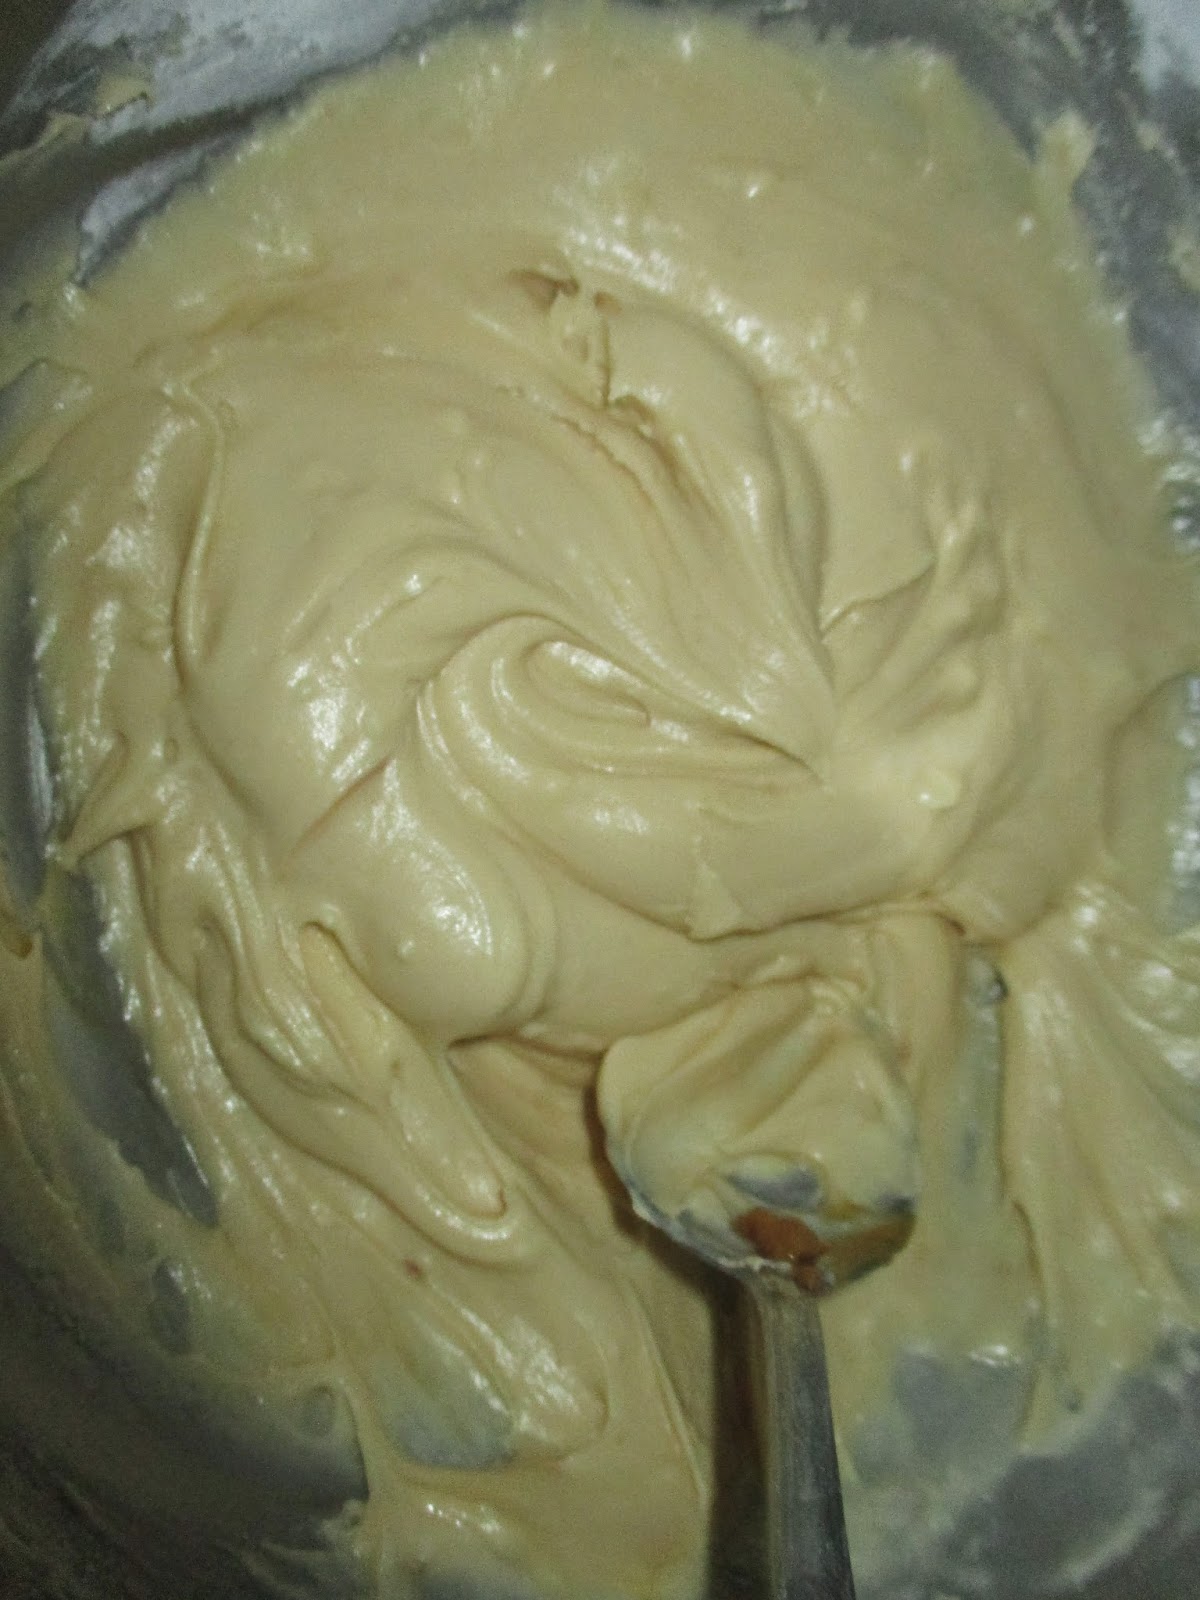
Firstly, heat the oven to 160 degrees. Whisk together the margarine and sugar until fluffy.


Then add eggs and whisk again.

Fold in the flour


Spoon the mixture into cupcake cases and bake for 20-25 minutes (until they spring back when touched and a skewer inserted into the cupcake comes out clean)

They come out all golden and delicious :D

Dig out the middle of the cupcake using a cupcake corer or a spoon, and fill with a teaspoon of caramel.

To make the icing, whisk together the butter and icing sugar until smooth. Add the milk, and then the caramel. You can use more or less caramel depending on how much flavour you like. You can then use an piping bag and a star tip to pipe it on to the icing, or simply spread it on.


Liddie xx


