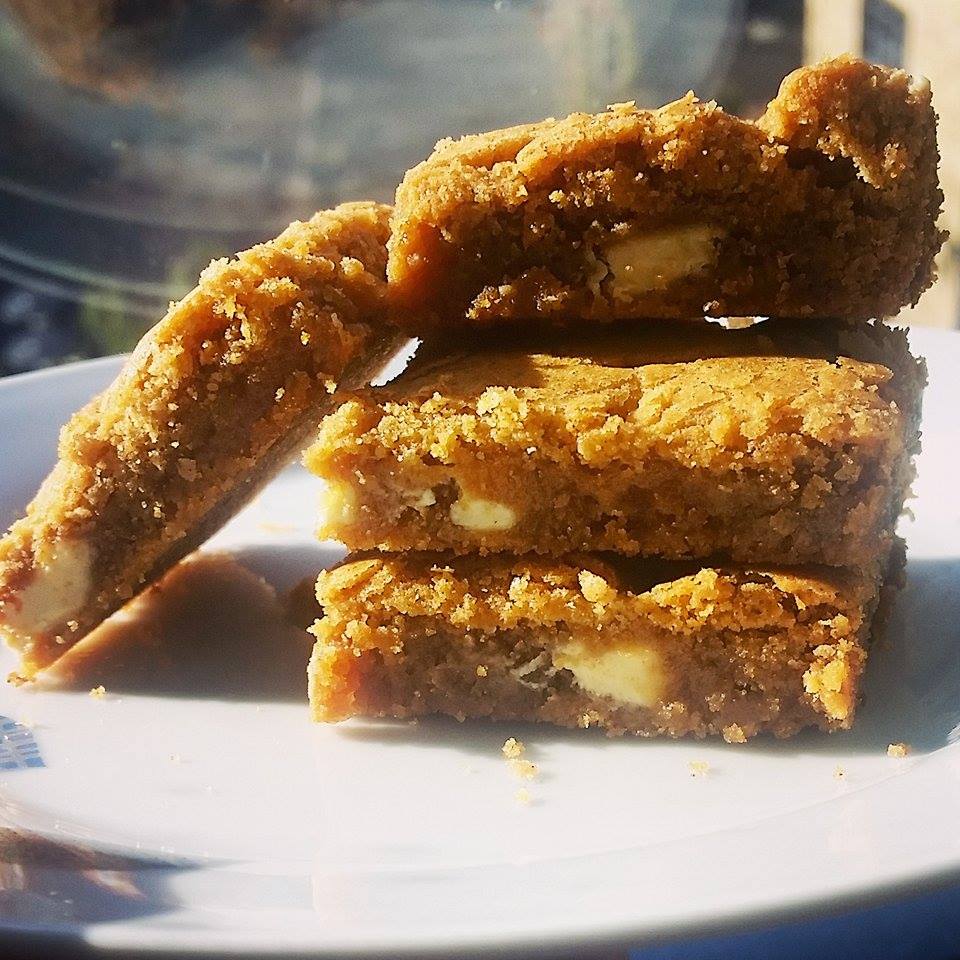
So I baked quite a bit with the smooth biscoff spread, and found it a really great addition to baked goods. So I decided to try out the crunchy biscoff spread to see if it would make a difference. To be honest, you can't really taste the crunchy bits when you bake with it, but it's still really yummy. These white chocolate & biscoff blondies are really indulgent and tasty for if you are craving a bit of biscoff :D
Recipe

- 70ml sunflower oil
- 60 grams light muscovado sugar
- 110 grams light brown sugar
- 1 egg
- 1 teaspoon vanilla essence
- 150 grams smooth or crunch biscoff spread
- 130 grams self raising flour
- Pinch of salt
- ½ a teaspoon baking powder
- 100 grams white chocolate chunks
Method
Line an 8 x 8 inch baking tin and preheat the oven to 180c/350f.
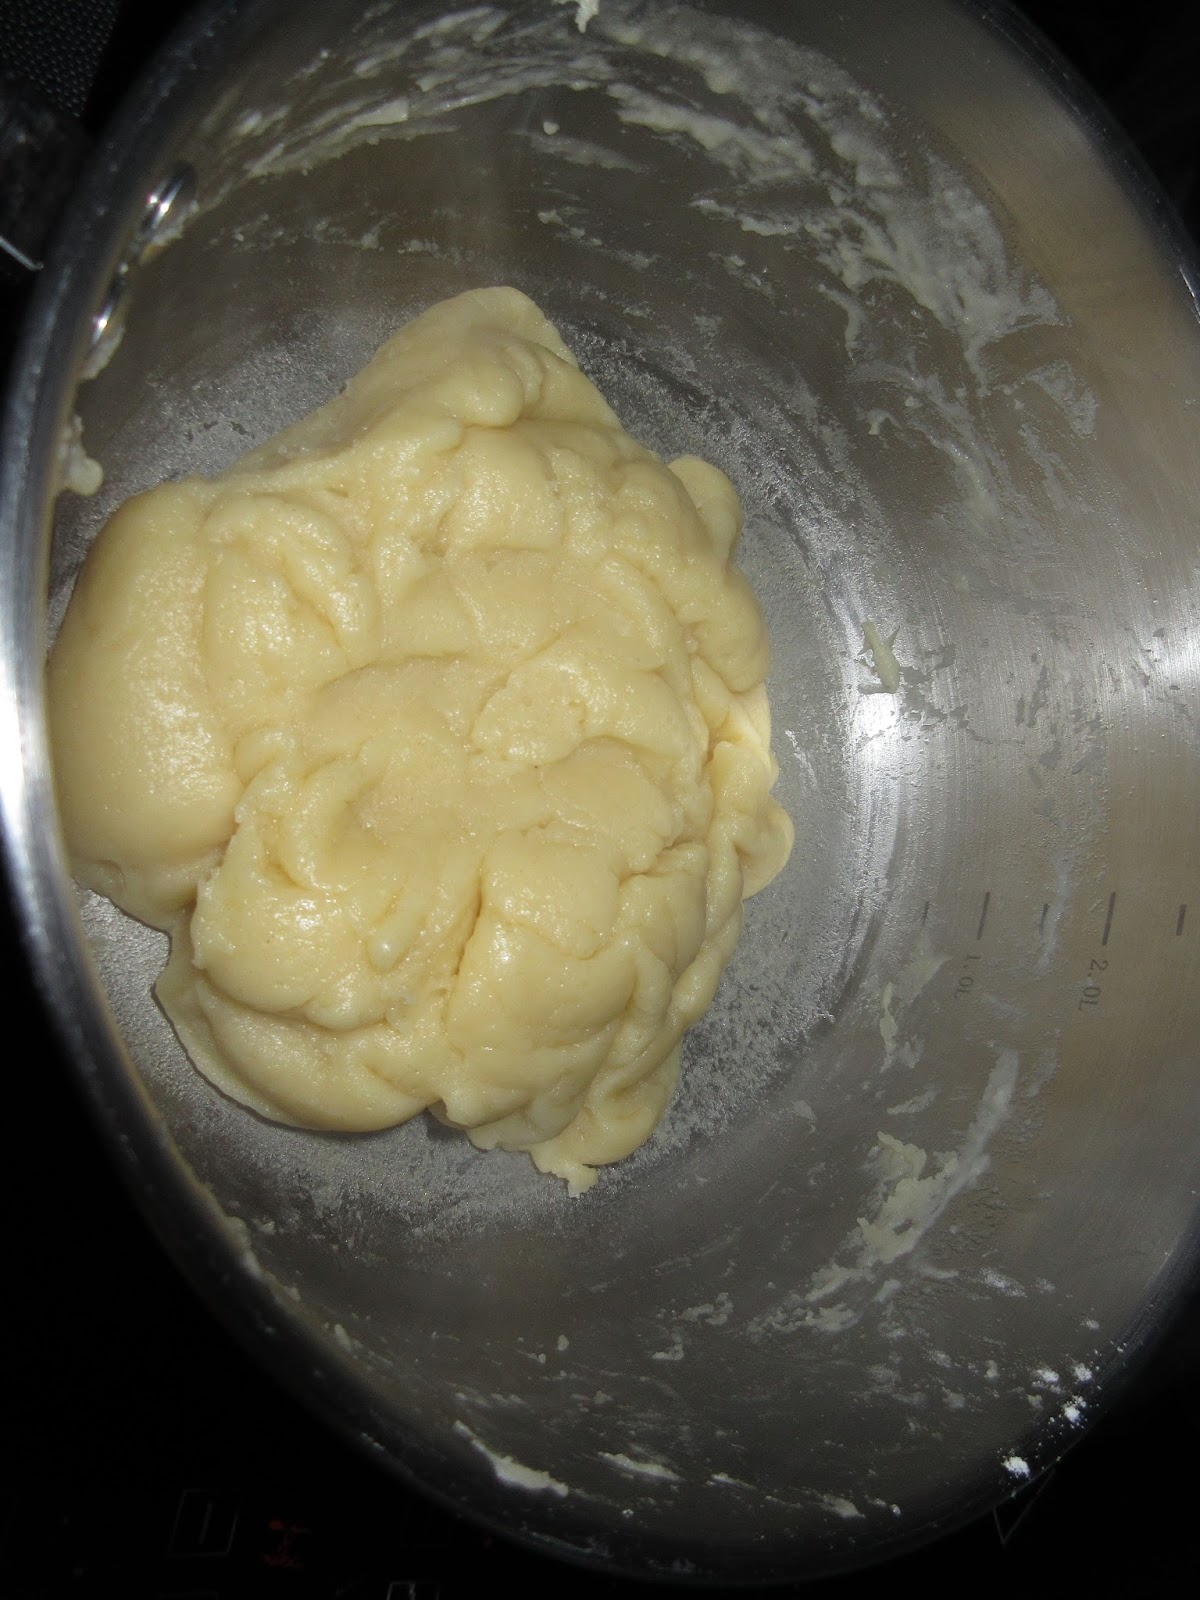
Pour the oil into a bowl and whisk in the sugar. Then whisk in the egg and vanilla, and finally the biscoff spread.


Gently fold in the salt, flour and baking powder.

Stir in the chocolate.

Press into baking tin and bake for 20-25 minutes or until a skewer comes out clean.


Cut into 12-16 squares and enjoy the biscoffy-goodness!
Liddie xxx


